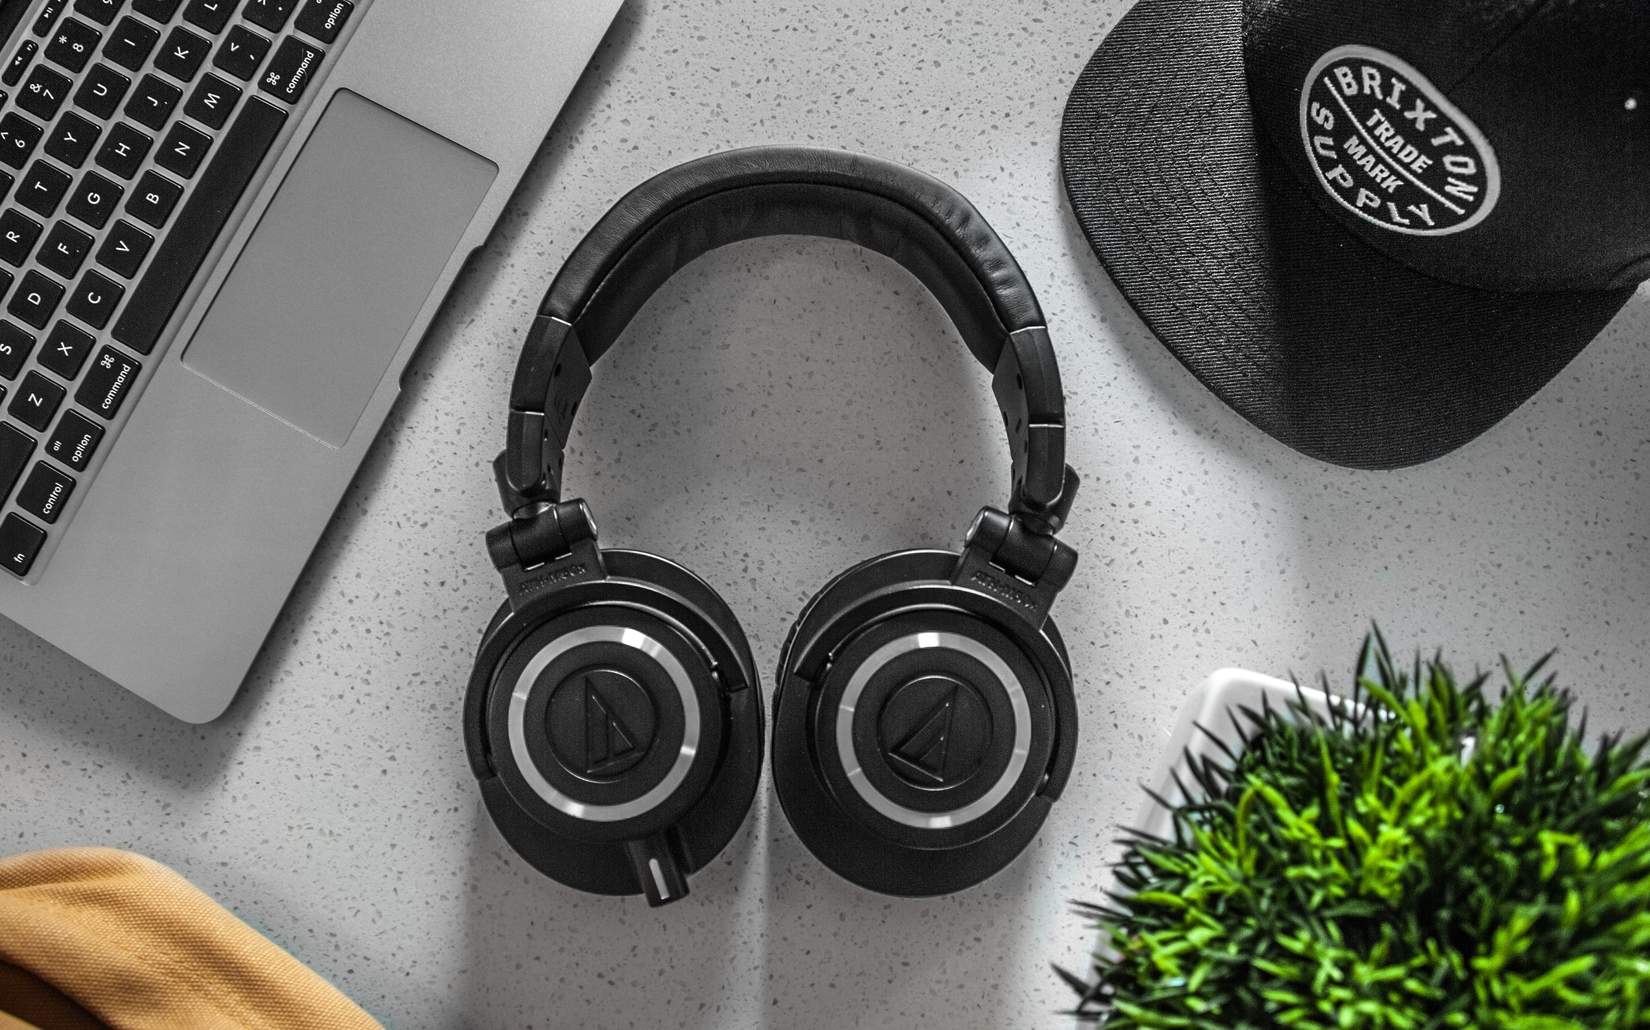
You may have heard that your phone is your dirtiest possession thanks to the layers of bacteria and dirt collected on its surface each day. But while you might be in the habit of sanitizing your phone after a trip to the gym or a long flight, have you ever considered doing the same for your headphones? The good news is that once you know how to clean headphones properly, you can see a drastic improvement in the performance, appearance, and longevity of your favorite pair.
Take a moment to think about just how dirty your headphones can become with regular use: tossed into bags, worn during workouts, set down on coffee shop tables. Beyond that, your hair, face, and ears contribute to much of the built-up grime you see on, and in, your headphones.
Know Your Headphones
Before you take a disinfectant wipe to your headphones and call it a day, pause and try to recall how much money you spent on them. Then, ask yourself if you’d like to spend that same amount again. If you don’t consider the make and materials of your favorite headphones, your cleaning job could do more harm than good. Knowing how to clean headphones starts with knowing your headphones.
Materials
Many modern headphones incorporate plastic and silicone, which are generally forgiving when it comes to cleaning. However, if you opted for more expensive headphones, you might see polished wood, titanium, steel, and other metals in the body and casing of your headphones. Each of these materials requires more care when cleaning to preserve shine and prevent deterioration from using the wrong cleaning products.
It’s likely that your headphones are made of more than one material, so be sure to use the correct cleaning solution on each section for the best results.
Design
Take a look at your headphones. They probably look like most other headphones–outer casing, ear cushions, drivers (which produce the sound), and protective mesh screens covering the drivers.
Beyond these basic features, there are a few more questions you should answer before beginning to clean: Do your headphones have a cord? Are the ear cushions removable? Do your headphones extend? Is there padding on the headband? Are the screens covering the drivers removable?
For thorough cleaning, it’s best to remove ear cushions, padding, and screens if possible and clean them separately. And while the exact rules on how to clean headphones can vary from person to person, one thing everyone agrees on is that you shouldn’t attempt to clean exposed drivers.
Cleaning them improperly can ruin your sound quality and your headphones. Leave their cleaning to a professional if you notice any dirt or debris when you remove the screens.
What You Need
Before you begin your cleaning process, make sure you have these cleaning tools and gadgets on hand:
- Cotton swabs (q-tips)
- An unused soft-bristle toothbrush
- Two small cloths for washing and drying (make sure they won’t leave fibers behind)
- A damp soft cloth
- A dry soft cloth or paper towel
- Hydrogen peroxide or rubbing alcohol
For plastic, rubber, and silicone, use a mild detergent and warm water and mix them together or use diluted isopropyl alcohol (rubbing alcohol) to kill germs. For metals, use diluted isopropyl alcohol and jewelry polish for a shiny finish. For wood, stick to a wood cleaner or mild detergent mixed with water. Make sure you don’t use any alcohol, which will strip the finish.
Things to Remember
Before you begin, make sure to unplug or turn off your headphones. Never apply liquid directly to your headphones, and don’t let alcohol solutions air dry on your headphones, which could cause damage. Instead, rub the headphones dry with a clean cloth or paper towel and let them sit for a few minutes before reassembling or using them again.
Finally, make sure you have a soft touch when cleaning. You don’t want to tear your ear cushions or accidentally damage your drivers by cleaning too vigorously. Take your time and enjoy the results of a thorough, gentle cleaning.
How to Clean Headphones
Finally! It’s time to clean. Get ready to wipe away weeks’ worth of everyday grime.
Casing and Cord
Wipe down the casing with one of your cloths dampened in cleaning solution, extending your headphones if possible to clean all sections. Focus on areas that come into contact with your face and hair, which collect gunk, grime, and wax buildup from the ear canal over time.
This will help prevent getting ear infections, especially from silicone ear tips in AirPods or other earbuds. You should feel free to repeat this process more than once if you think your headphones need it, especially if this is your first time cleaning them. Don’t forget to wipe down the cord!
Using your dry cloth, rub the casing and cord again to wipe off any excess cleaning solution. Set aside and let dry completely.
Padding and Ear Cushions
Remove your headband padding and ear cushions if possible. If your headphones have synthetic, pleather, or vinyl padding and cushions, wipe them down with your alcohol and water solution. For leather padding and cushions, use detergent and water and consider applying a small amount of leather conditioner to soften and protect the leather.
For velvet, velour, mesh, foam, and other synthetic materials, brush off the padding with your toothbrush to loosen any debris. Next, submerge detached padding into detergent mixed with water and scrub well. Finally, rinse it in a separate bowl and allow it to air dry. If your padding doesn’t detach, use a wet cloth to gently scrub it without submerging any part of the headphones.
Cleaning genuine or synthetic suede padding requires a special kit, which can be purchased on Amazon or from other online retailers. Avoid cleaning suede with alcohol or detergent solutions, as this could ruin your padding.
Using a cotton swab dipped in cleaning solution, clean the nooks and crevices of your ear cups to remove ear wax and dirt. Wipe down once more and set aside to dry.
Screens
Carefully remove your mesh screens if possible. If screens do not detach, hold your headphones facedown and use your toothbrush to loosen and brush off debris. Make sure you don’t press too hard or force bristles and debris through the screen into the drivers.
If your screens are detachable, clean them in detergent and water, rinse, and allow to dry before reattaching them. While your drivers are uncovered, be careful not to let any lint or other debris or moisture get inside the inner workings of your headphones.
Reassembly
Check to make sure that all the pieces and paddings are totally dry. Then, reassemble your headphones and use as normal.
Maintenance and Extra Tips
So, now you know how to clean headphones. They might look just like new again, but they won’t stay that way forever. There are a few ways you can keep your headphones clean and performing well after your initial deep clean.
Clean Monthly
First, try to clean your headphones thoroughly once a month. In a pinch, an unscented baby wipe will do the job, but taking the time to keep your headphones disinfected and free of debris will help keep them in excellent working order and protect you from additional germs.
Replace Certain Parts
You might notice that your ear cushions, padding, or screens are looking more worn down over time, even with a good cleaning. This is normal; if your headphones are still working well, consider replacing some of these parts to save money in the long run.
Keep Them Safe
Finally, try to keep your headphones in a case or protective pouch when not in use. The less you toss them in your gym bag, backpack, or carry on, the less wear and tear you’ll see, and the longer they’ll last.
Conclusion
With just a bit of care, you can ensure you’ll have clean, perfectly functioning headphones every time you want to use them!


