There comes a time in every musician’s life when it’s time to start recording your creations. Much like playing an instrument, recording requires equipment and the know-how. In fact, learning the ins and outs of audio engineering is more likely to be a lucrative career choice, but that’s not to say you should give up playing. Simply add to your arsenal of skills. Everything you learn about recording equipment will make you that much better at producing quality tracks.
Don’t think of a home recording studio as a luxury; think of it as an investment.
In this article, we’ll explore how to make a recording studio in your room. So settle in and get ready because, before long, you’ll be ready to start recording your creations in the comfort of your own home studio.
How To Make a Recording Studio In Your Room
You might think that it’s cost-prohibitive to turn a room into a recording studio. However, most musicians find that they naturally acquire much of what they need through the natural pursuit of their passion. If you’re lucky, you get to a point where it’s easier to have a recording studio than not have one.
Studio Equipment
The heart and soul of a home recording studio rest with a couple of items. There are one or two moderate expenses, but it’s likely that you’ve made the large purchases already.
Remember that you can always upgrade once you have your studio up and running, the key is to get it built and to get recording. The items you need for a capable home recording studio are as follows:
- Computer
- DAW
- Audio Interface
- Headphones
- Studio Monitors / Speakers (optional)
- Microphone
- Mic stand
- Cables
Computer
What I use: 13″ Macbook Pro
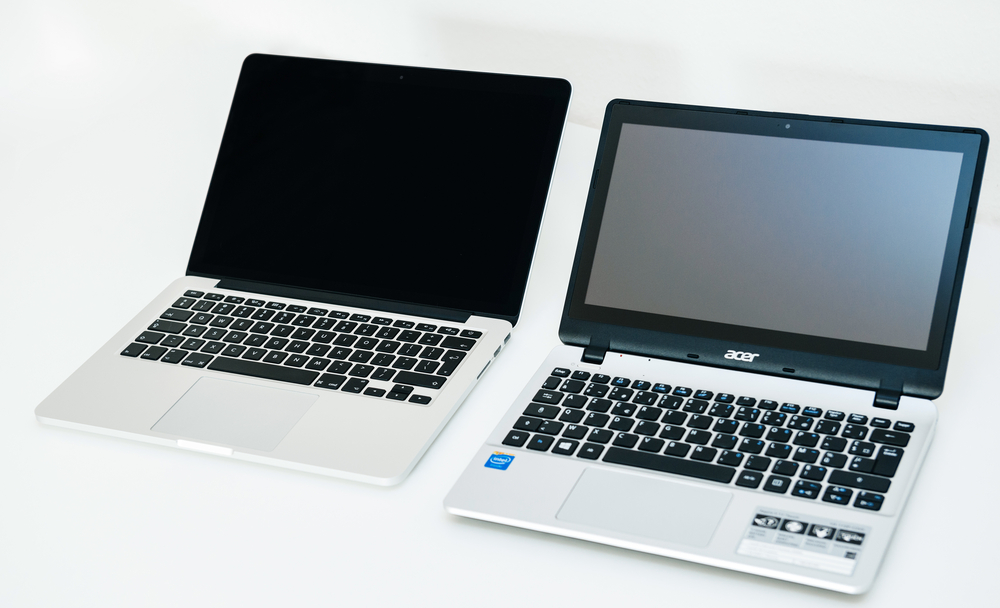
The good news is that you likely already have a computer. The first question is: is it good enough to run your DAW?
In 2020, the answer to that question is probably yes. For example, the minimum recommended specs to run Ableton Live 10 are as follows:
- OS X 10.11.6 on a Mac
- Windows 7 or newer on a PC
- 4 GB of RAM
- Multi-core Processor
- 3 GB of hard-drive space (but I’d recommend at least 500GB—music takes up space!)
In general, most DAWs will have a minimum similar to this. If your computer is outdated and doesn’t meet these requirements, consider investing in a new one in the near future.
Fortunately, most current computers can easily hit these marks and much more. The real questions come when you’re looking at more complicated software, or when you need to store a lot of space-consuming files. For that reason, you definitely want a spacious hard drive (preferable a solid state hard drive) with plenty of room for finished tracks or instrument files. You also will want a minimum RAM that can handle most major recording software, DAWs.
For storage, I recommend getting a computer with 500GB as a bare minimum. Fortunately, you don’t have to have this all as internal storage, which can get pricey really quickly. Instead, consider getting an external hard drive if it works better with what you have. For instance, if you already have an otherwise good laptop or computer with less than 500GB storage, then you can boost it economically with an external hard drive.
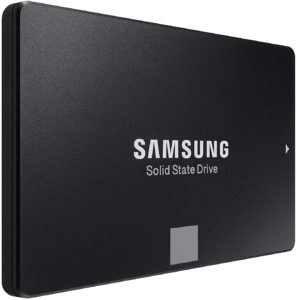
Pro tip: Install an internal Solid State Hard Drive. Here’s why. When you run your operating system and your software, AND store your files on a solid state drive, your computer can access everything it needs much faster than it can on a traditional drive.
The Macbook I use now is about 5 years old, with thousands of hours of use. I was going to replace it 2 years ago because it was running slow. Instead, I swapped the stock hard drive with a solid state hard drive, and cloned the drive with Carbon Copy Cloner. Problem fixed.
For RAM and your CPU, you want to make sure you get those working. 8GB of RAM is good for most options working right now, and 16GB will really be plenty. A CPU should be able to approach 2.5-3.0GHz, especially if it is in “turbo” mode (where it can process faster for shorter bursts of time). CPU specs are important because they’re not “swappable” like RAM and Hard Drives.
As far as what computer to get: you should probably be able to use whatever you have. If you want a laptop, the Macbook Pro is a solid choice, as are several PC models. Lenovo has been making some pretty good laptops for music production lately. The Lenovo Thinkpad or a Dell Inspiron are popular choices for music producers needing a Windows machine.
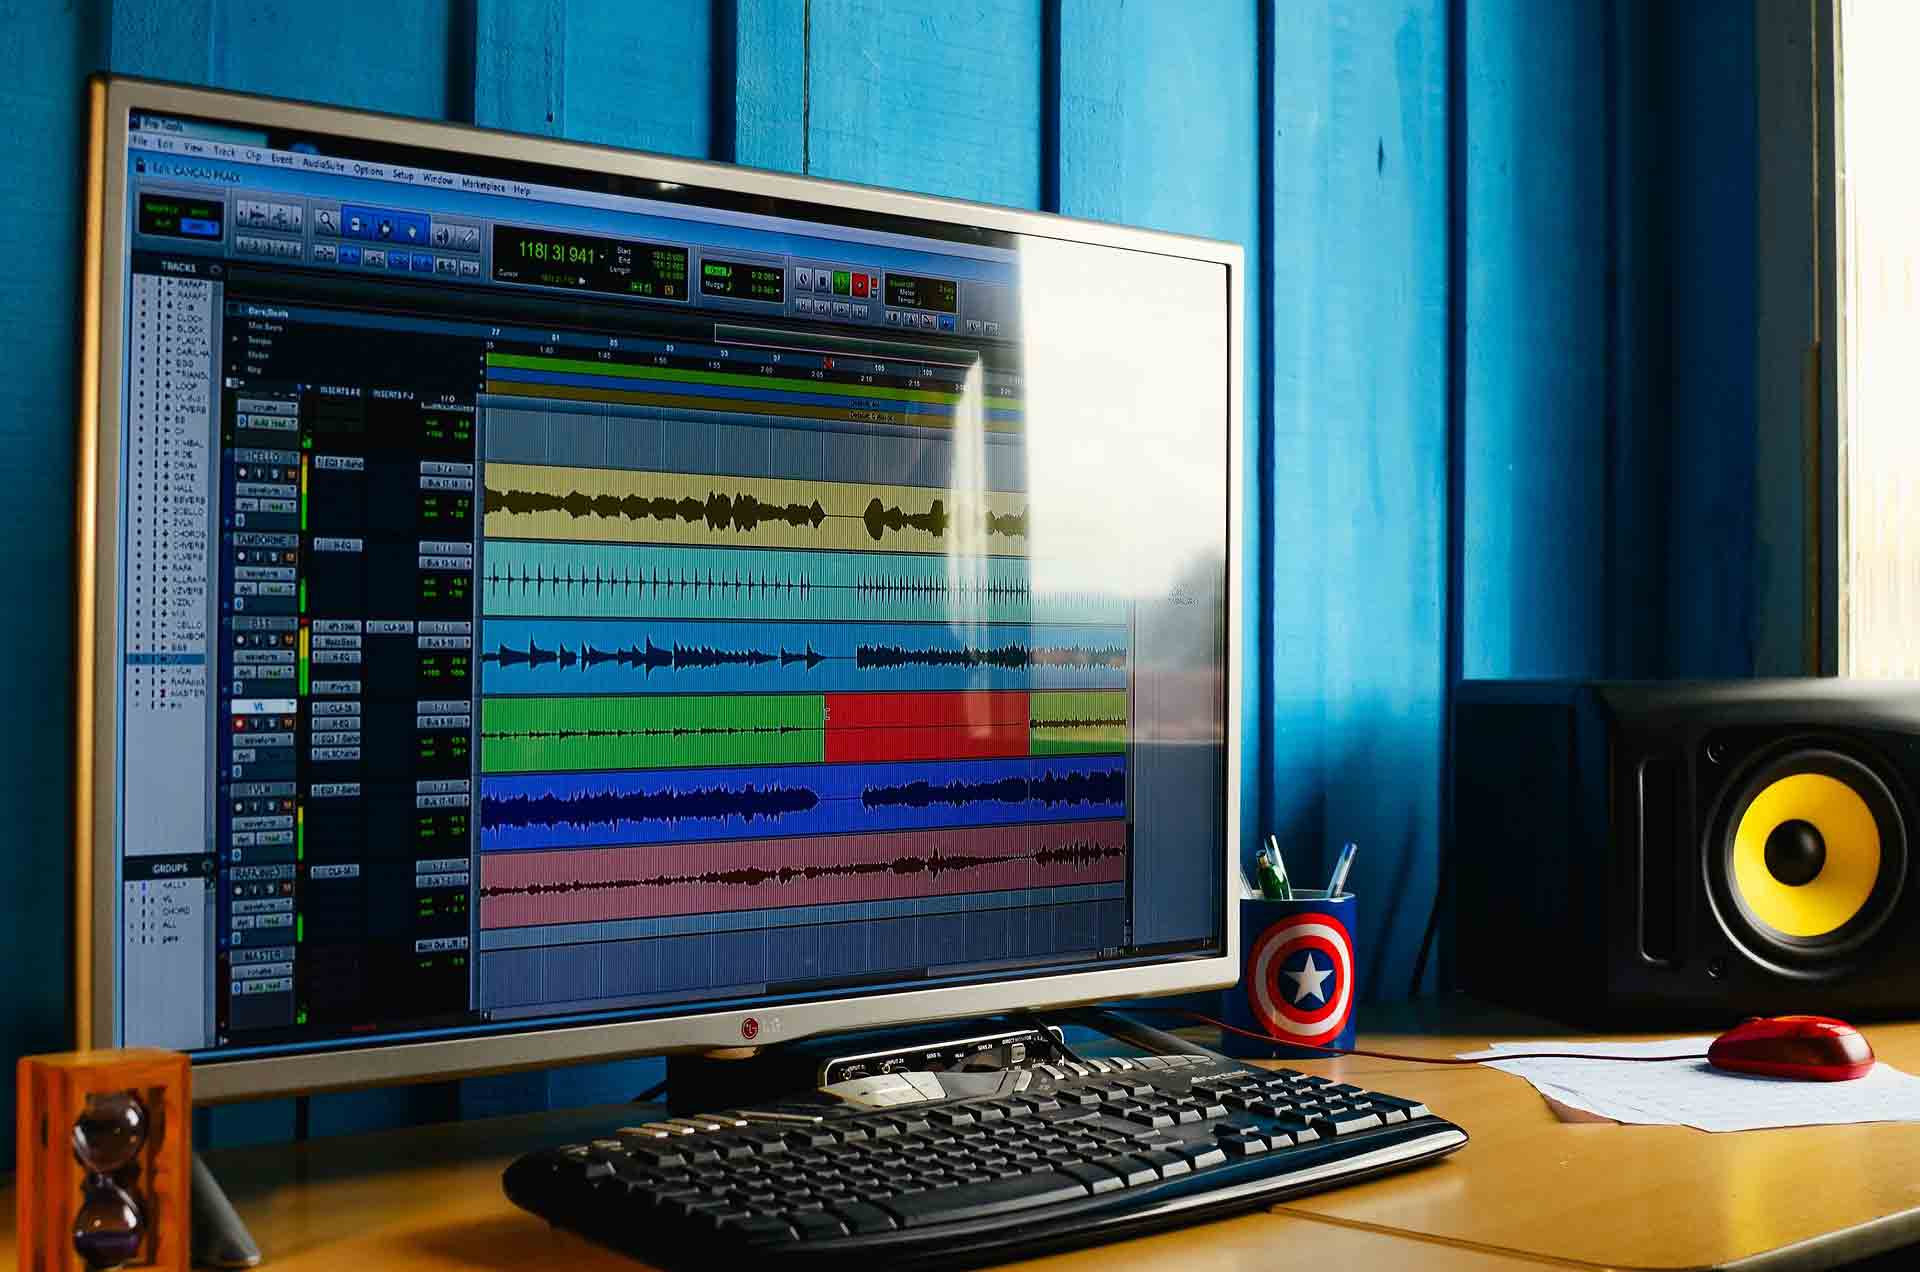
DAW
What I use: Ableton Live 10 – Get a Free 90-Day Trial
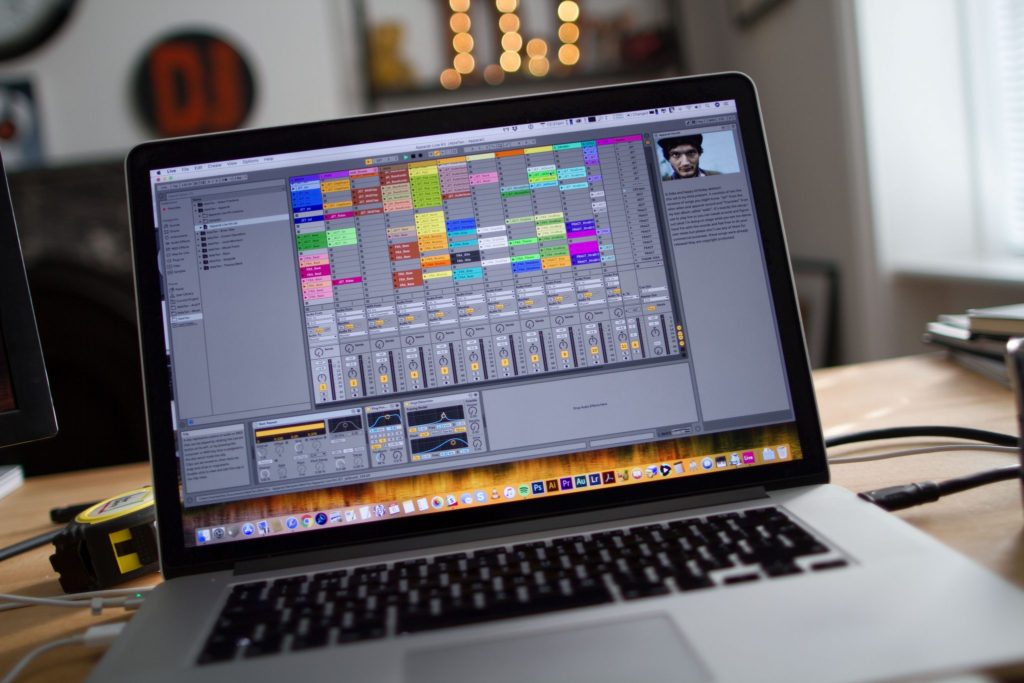
DAW stands for digital audio workstation, and it’s the software that you’re going to install on your computer to record, create, and mix your music. The good news is that many audio interfaces come with a lite version DAW with purchase. No matter the DAW you choose, keep in mind––they all do the same thing. Many musicians/producers will tell you why their DAW is the best, but it really all comes down to this: knowing your DAW like the back of your hand.
Here are just a few options to consider:
- Ableton Live
- FL Studio
- Pro Tools
- Logic Pro X
- Cubase
The full version of Ableton has tons of features and has many committed fans who have been using it for years. As such, there is plenty of information available online as far as support materials and tutorials. It isn’t a “simple” program in terms of being limited in capability. But it is pretty easy to pick up, simply because of the amount of support out there on the web. Ableton has a few different versions available for download, including the very reasonably priced Intro version, if you’re not sure about whether you want to buy the full program or not.
Logic Pro X is an Apple program, and a significant improvement over the standard Garageband. It has plenty of plugins and extra features.
Pro Tools is a DAW that works with both Macs and Windows PCs. It’s widely used by many professionals, so if you want to start with one that’s really well known, this is a good one to work with.
FL Studio is primarily used on Windows machines, and it is a favorite of some electronic and hip hop music producers. Although it was a Windows-only program, it is finding its way onto other platforms. It’s a bit slower-moving than Ableton or Pro Tools, but its simplicity makes it a good one to learn on, if you’re not sure which program you want to use.
Still, my overall preference is Ableton Live.
Audio Interface
What I use: Focusrite Scarlett 18i8 …but the 2i2 is PLENTY for vocal artists
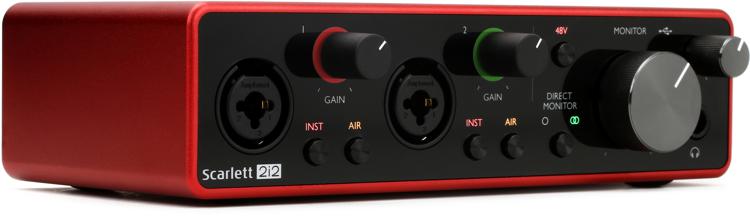
The audio interface serves as your computer’s external sound card. This hardware does many things, including these essentials:
- Turns acoustic/analog sound into a digital signal that your computer can process
- Serves as an output for both your headphones and/or studio monitors/speakers
- (Most) serve as a microphone pre-amp, providing necessary “phantom power” to power a connected condenser microphone
This is, as you can imagine, a critical piece of equipment. Do your research and find something that you can afford that doesn’t overwhelm you with options and accessories. Remember that a 2-channel interface is enough to get you started.
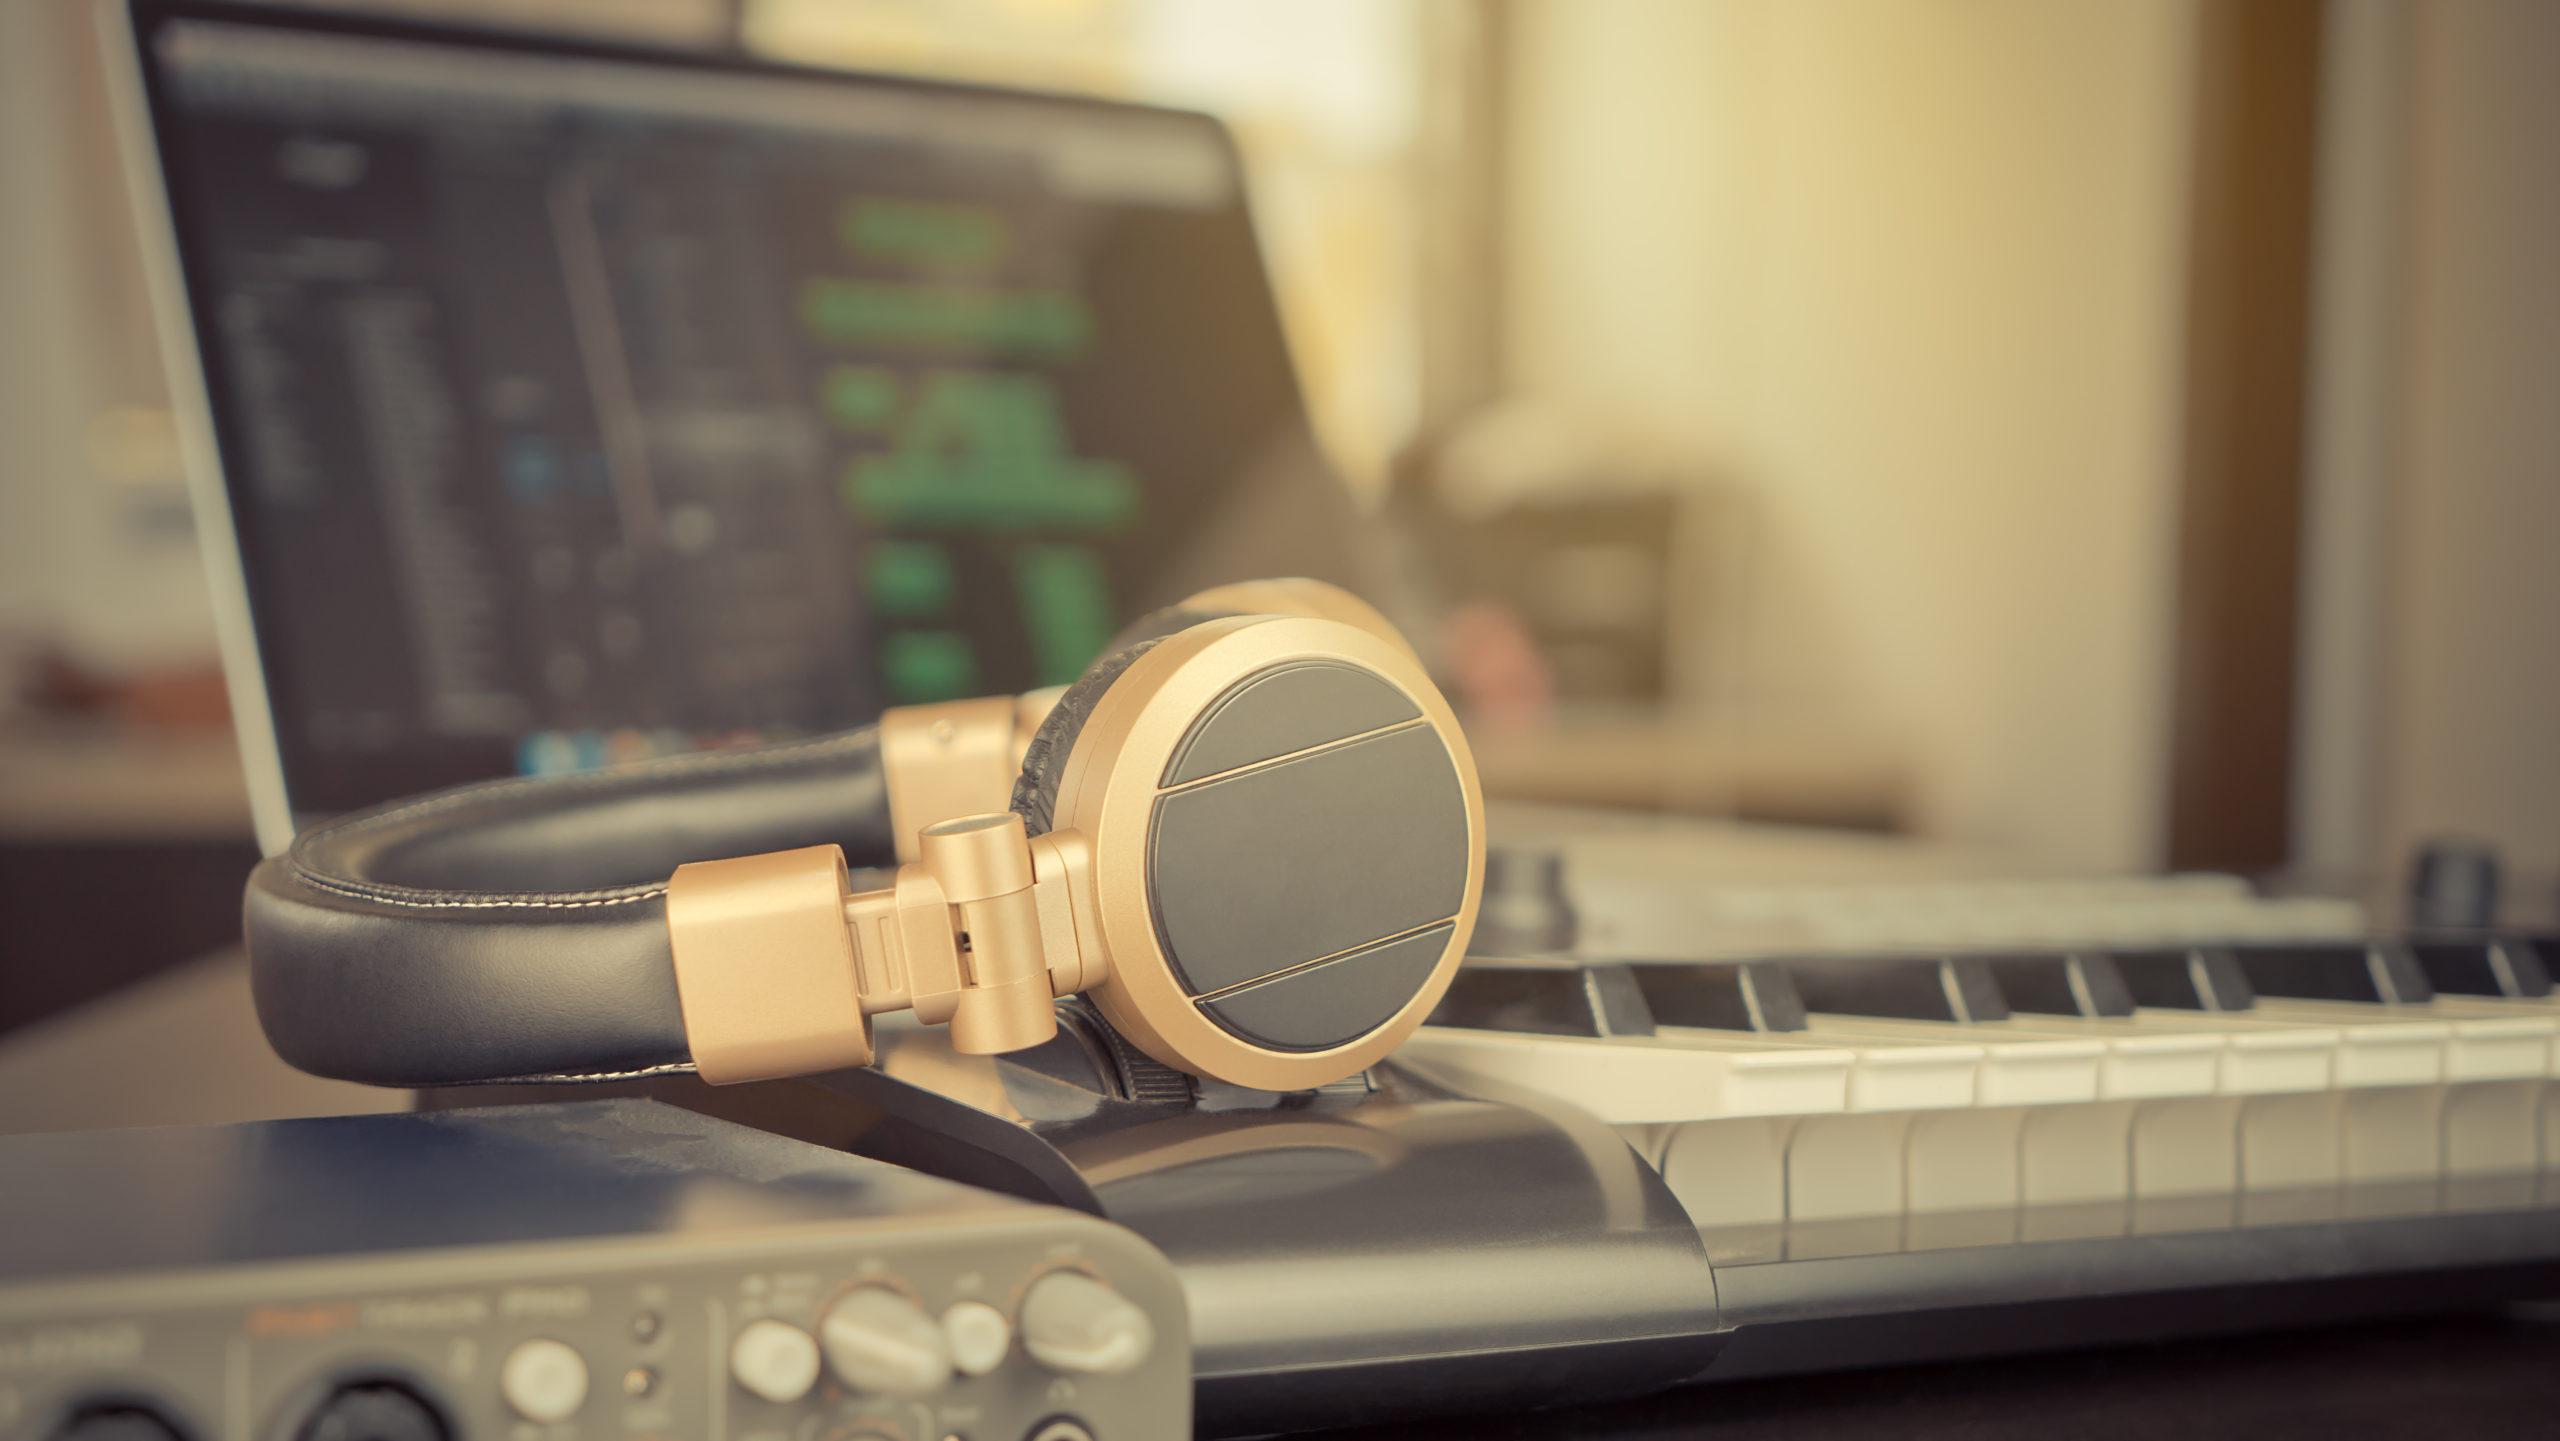
Headphones
What I use: Beyerdynamic DT 990 Pro 250 ohm. But for recording, the Samson SR850 make a better choice
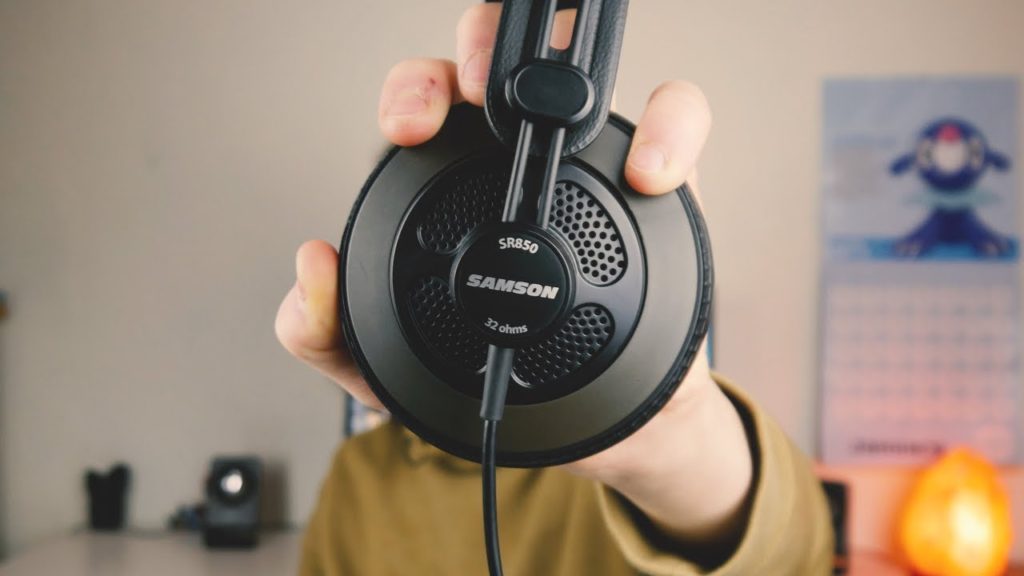
A lot of mixing is done with headphones these days, so you can hold off and save by not buying monitors right away. Open-back headphones are great for listening and mixing music but not so great for recording. This is because open-back headphones tend to leak sound.
It’s great to have both, but if you only have money for one, get the closed-back headphones first.
If you weren’t doing any recording, and only mixing music using the available instruments on your DAW and library, then I’d say to go with open-back. Open-back headphones will give you a flat and accurate sound, like studio monitors (see below). That makes them excellent points of reference for mixing. When they play a track, it sounds the most natural and closest to the mix that is actually on the track itself.
Still, you don’t want your headphones leaking sound onto a track while you’re recording, and there’s really no way to avoid this with open-back headphones.
If you’re using a pair of headphones while you record, then you want a good pair of closed-back headphones––they’re an essential piece of recording equipment, and not expensive.
The closed-back design also has the added bonus of buffering against background noise.
If you live in a noisy part of town or a busy apartment, then you are going to want to have a little noise reduction if possible. Open-back headphones won’t help you there, but closed-back headphones will provide more of that “sealed off” feeling when you’re recording, or when you’re listening to your work in progress.
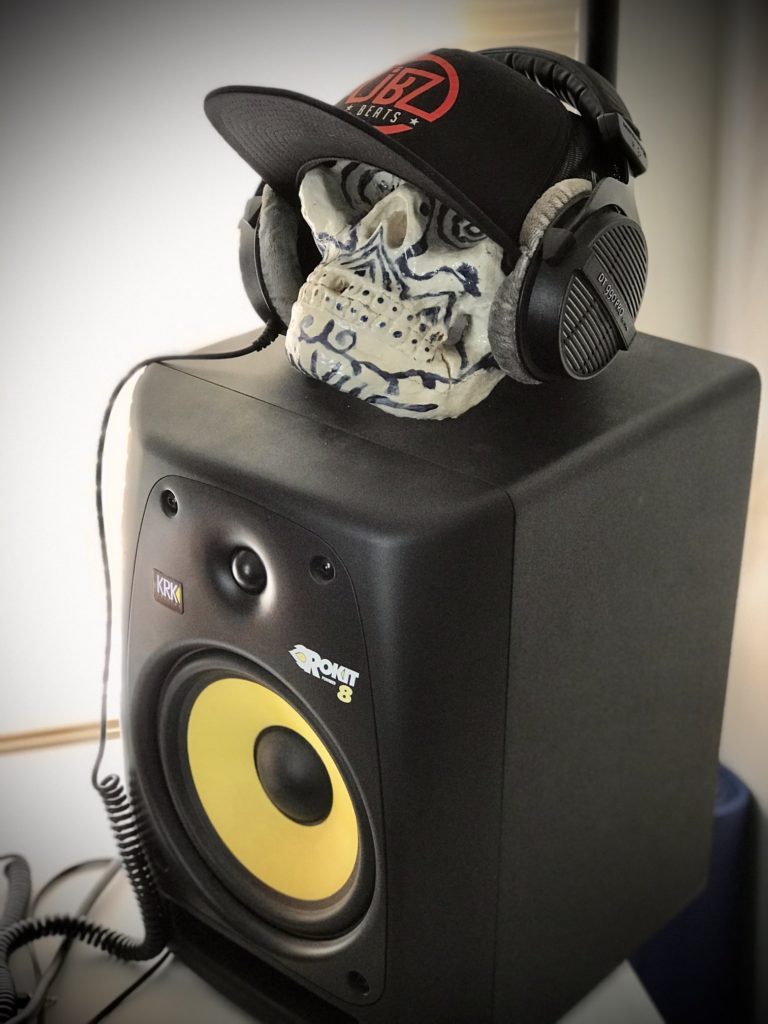
Studio Monitors / Speakers
What I use: 2 KRK Rokit 8s accompanied by a KRK 10s v2 Subwoofer
Studio monitors are speakers that are intended to be “flat”––meaning you hear the sound exactly how it is. No added bass, treble, etc.
If you are just starting out, they’re not entirely necessary. Studio monitors are finely tuned devices, and they can run more expensive than a typical off-the-shelf commercial speaker. If you just want to listen to your work, you can hook up any speakers you have lying around if you get tired of using headphones. They also work well if you simply want to share your music with your friends.
Just keep in mind, you can’t trust just any speaker to give you an accurate sound when you’re in the editing process. Mainstream commercial speakers tend to alter the sound they produce, coloring the music one way or another. This can make pop music sound more punchy. That’s great for relaxing with music and listening it for enjoyment, but it doesn’t give you truthful feedback on what the music originally sounded like.
To make matters more difficult, not all consumer speakers color the music the same way. Some will boost the bass, some will boost the high frequencies.
If you make your music sound good on one unbalanced speaker, then it may sound terrible on another.
Studio monitors will reveal your music’s true sound. They can be used separately from subwoofers, or paired with a woofer for a truly amazing sound. Whatever type of studio monitors you get, you should make sure you buy two of them.
The entire KRK line has been a mainstay for a while. The build quality and sound quality are both exceptional for the price, making the KRKs a great value for new producers. Although there are some larger and fancier versions of the KRK Rokit than the 8s, the important thing is to find a pair that will provide the best overall sound for your room.
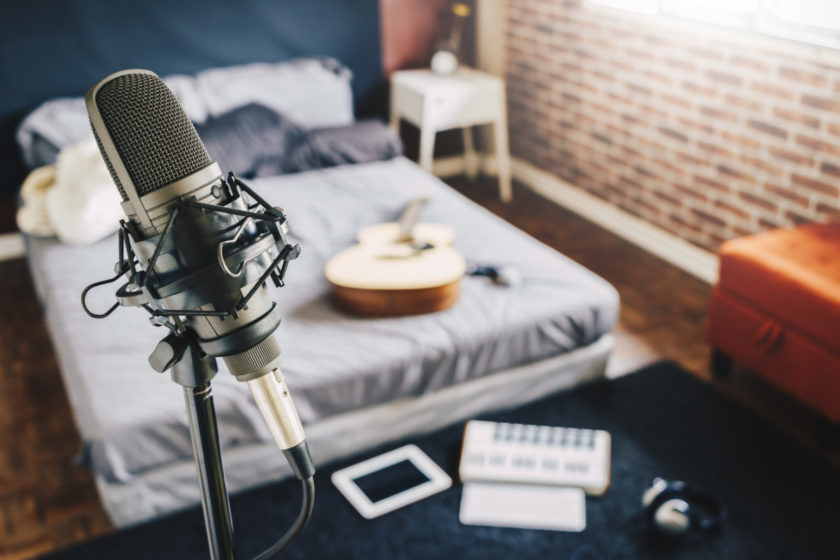
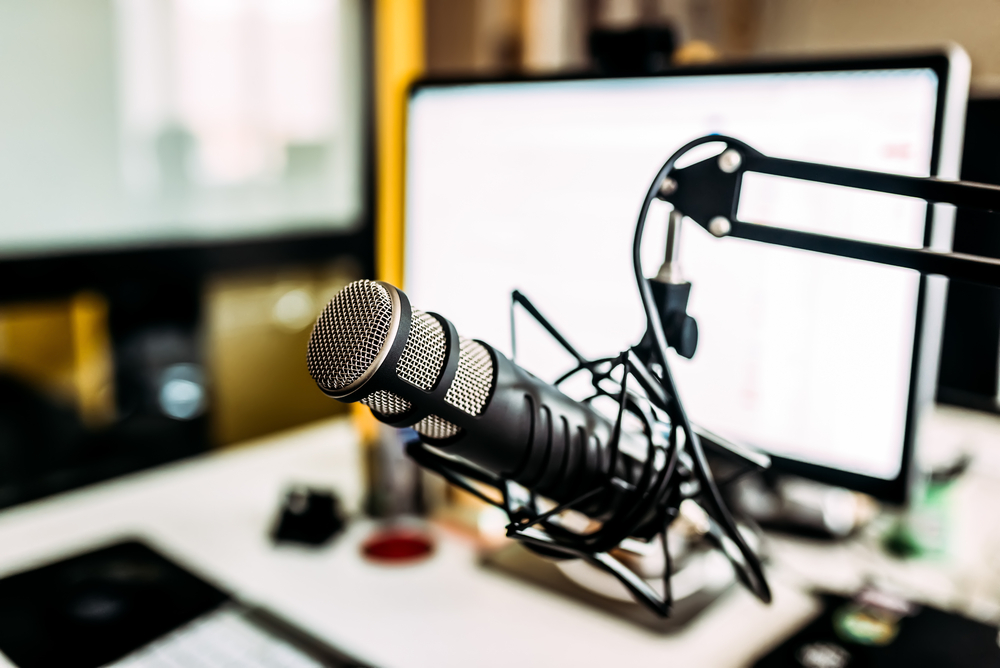
Microphone
What I use: the Audio Technica AT4033a, although a cheaper mic like the AT2020 is a good choice if you’re on a budget
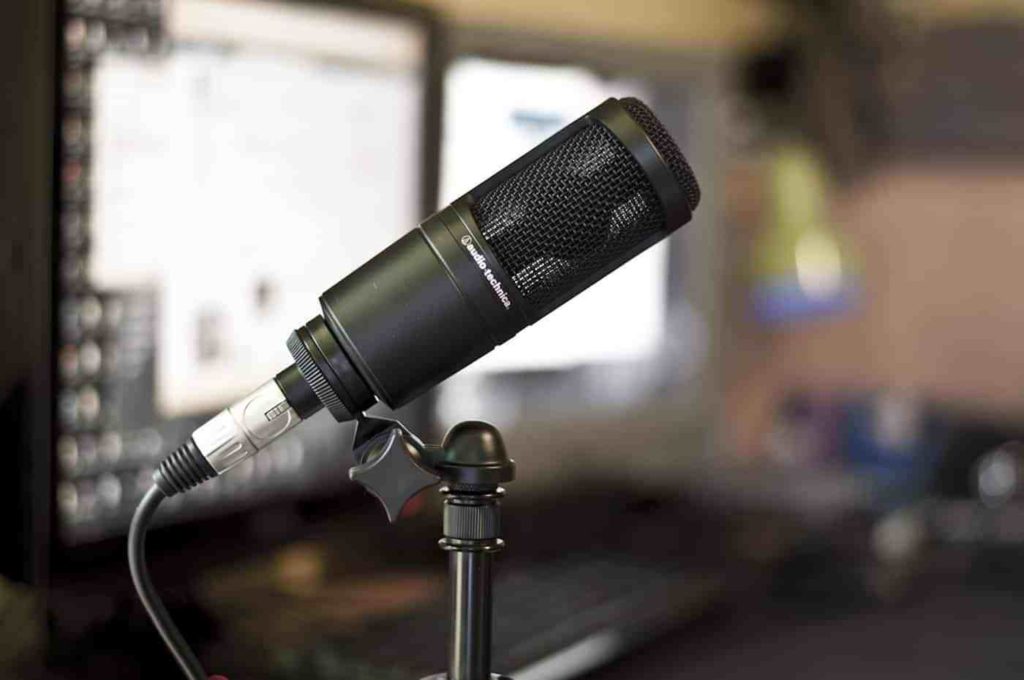
Mics are probably the most well-known piece of recording equipment out there. When you think of a musician working in a recording studio, what’s the first thing that pops into your head? A person in front of a mic is almost always part of the picture, no matter what genre of music they’re recording. A quality microphone is an essential for any musician and especially for any recording space––home or professional.
The kind of microphone you need will depend on what you intend to record with it. While most microphones are condenser mics, they still have specific purposes. For example: if you’re recording vocals, a large-diaphragm condenser mic will get the job done.
If you’re recording drums, you will want a specific set of microphones for that. For recording guitar, you’ll likely want at least two microphones in order to capture a stereo sound.
Either way, starting with one condenser microphone is always a good option. USB condenser microphones can sound easy and convenient (and they can be), but with an audio interface, there’s no need to use that extra USB port––the quality of your recordings will thank you––as well.
Microphone Stand & Accessories
This one is fairly self-explanatory. A microphone stand is necessary to get your mic and hold it where you need it. I use this microphone stand from Amazon Basics.
Accessories may include:
Shock mount: This absorbs any unintentional vibrations, from the floor and elsewhere. It’s common for condenser microphones to come with a fitted shock mount. Microphones often come with a fitted shock mount.
Pop filter: This filter attaches to your mic stand. It protects your microphone from moisture and also filters out percussive sounds created by your voice. Pop filters are especially important if you’re using a condenser mic. I use this one.
Isolation shield: An isolation shield is a foam reflector that attaches to your mic stand and sits behind the microphone. Any sound waves not picked up by the microphone will be absorbed and reflected, helping to minimize any room reverb. I use this one.
Cables
We’re convinced that cables multiply on their own in the closet or in whatever storage box you throw them in. Most of the accessories you buy will come with their own cables, so don’t buy a cable until you notice your missing something. Trust us: they will pile up.
Preparing Your Recording Space
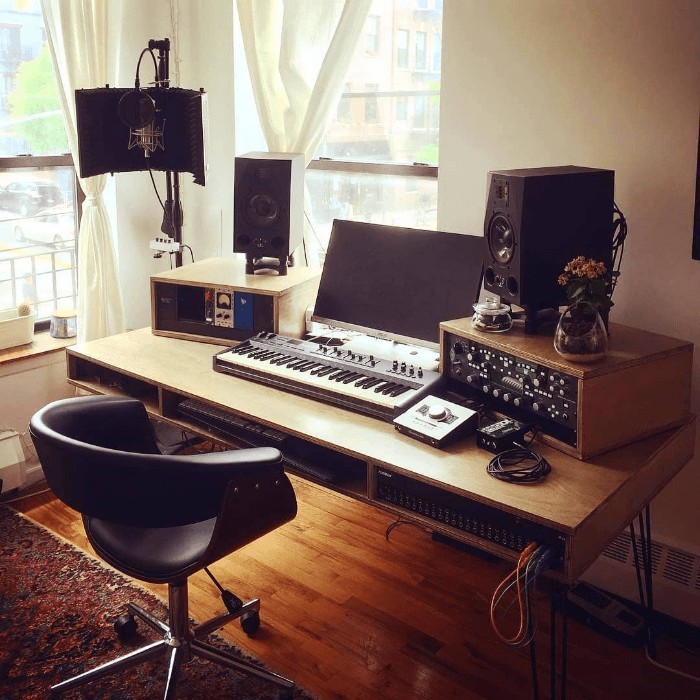
So, you’re stocked with the latest and best equipment. What else is there to do? Well, there is another big, big element to creating the ideal studio: the space itself.
If you truly want to get the most from your recording studio at home, you are going to want to check out your soundproofing options. You may also want to investigate the process of acoustic treatment, which involves making sure that you get the best sound possible within the boundaries of your studio.
Yes, of course it sounds like a lot of work. And if you do a complete, in-depth DIY soundproofing project, you can wind up spending a lot of time and money on it. Maybe you’re not ready to transform your entire living room into a studio space, or maybe you just don’t have that option for practical reasons. If that’s the case, don’t worry! There are still many possibilities to keep the sound transmission down, and prevent outside noise from finding its way onto your recording takes.
Acoustic Treatment and Soundproofing
Acoustic Treatment
Acoustic treatment is often confused as soundproofing, but the two are very different.
The goal of acoustic treatment is to make sure the sounds within the room are good quality for recording. This includes minimizing unwanted reverberation, and anything that will interfere with a nice clean recording.
If you’re in an echo-y room, and you’re trying to record rap vocals, those reverberations are going to make it into your recordings, and sound awful when you try to compress and mix your vocals.
Here is how you can make your room’s acoustics suitable for recording:
- Aim your mic toward your bed—your bed will help absorb sound that might otherwise reflect back
- Get an isolation shield to attach to your mic stand
- Use acoustic panels

Soundproofing
Soundproofing focuses on stopping unwanted noise from coming in or out of the room—and can be equally important for recording. Simply put: you want to eliminate sound coming in, and you want to eliminate sound going out.
The first aspect: stopping sound from coming in. Loud street noises, construction, airplanes, cars, leaf blowers, kids, neighbors running up and down stairs, talking on their phones outside your door… there is so much background noise that can ruin an otherwise amazing recording take. Why risk it? If you want to get the best studio setup possible, then you really want to make sure that you’re minimizing the incoming noise for your studio room.
The second part: keeping sound from going out. This is more a matter of being a good neighbor. If you are recording or playing music regularly, you may want to get loud sometimes. If you’re sharing space or living in close proximity to other people, then you may wind up unintentionally disturbing them. Noise complaints aren’t something you want to rack up, especially if you are planning on making your music production a regular thing (which hopefully you are doing).
Damping Sound
We’re going to go ahead and assume that you’re not building the entire studio from scratch, but that you’re just putting a music studio in your bedroom (like the rest of us). But, if you are building the studio from the ground up, you can use denser wall material to help buffer the sound both coming in or out. In most cases, though, you won’t have much say in what the walls are built out of, unless you’re doing some pretty heavy-duty remodeling.
So instead, it’s a good idea to use acoustic panels on the walls as a way of absorbing sounds. These are remarkably easy to construct, and fairly cheap as well.
You may also find that Green Glue is an excellent way of creating a sound barrier through damping the sound. This material is easily found on Amazon and other retailers, and can help you minimize the noise.
Sealing the Gaps
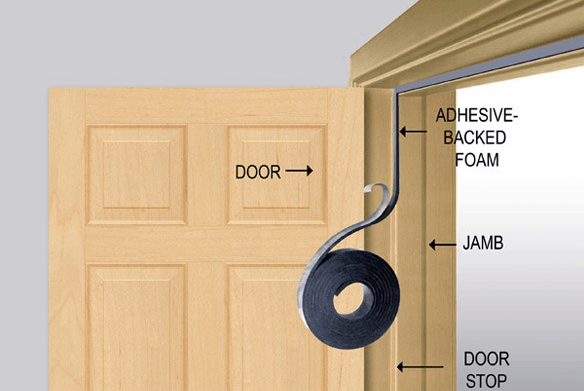
Finally, there is the best-known method of soundproofing, and that’s when you seal off all the little openings and air gaps that cause sound to leak from your studio. Air gaps are just what they sound like: points of the room where air (and sound) flow freely in and out. Sealing these is a win-win, because it provides protection against both incoming and outgoing sound.
Acoustical caulk is a musician’s best friend in this particular case. You can use it to plug tiny holes or to seal up cracks in the wall. They can prevent sound that’s leaking through an area around a window or between the wall and the floor.
In addition, you can also add a door sweep or door bottom to your door. This provides a seal along one of the main culprits for noise transmission: the space between your front door and the floor.
All in all, the importance of soundproofing your home studio will depend entirely on the external factors. If you live in a house in a quiet neighborhood, you might not have so much background noise to worry about. If you live in an apartment in a crowded city, then it can be absolutely critical.
Other Noise Reduction Tips
There are a few other tips if you want to minimize unwanted noise from making its way onto your recordings. Some of these we’ve had to learn the hard way…
1. Use a Laptop Stand
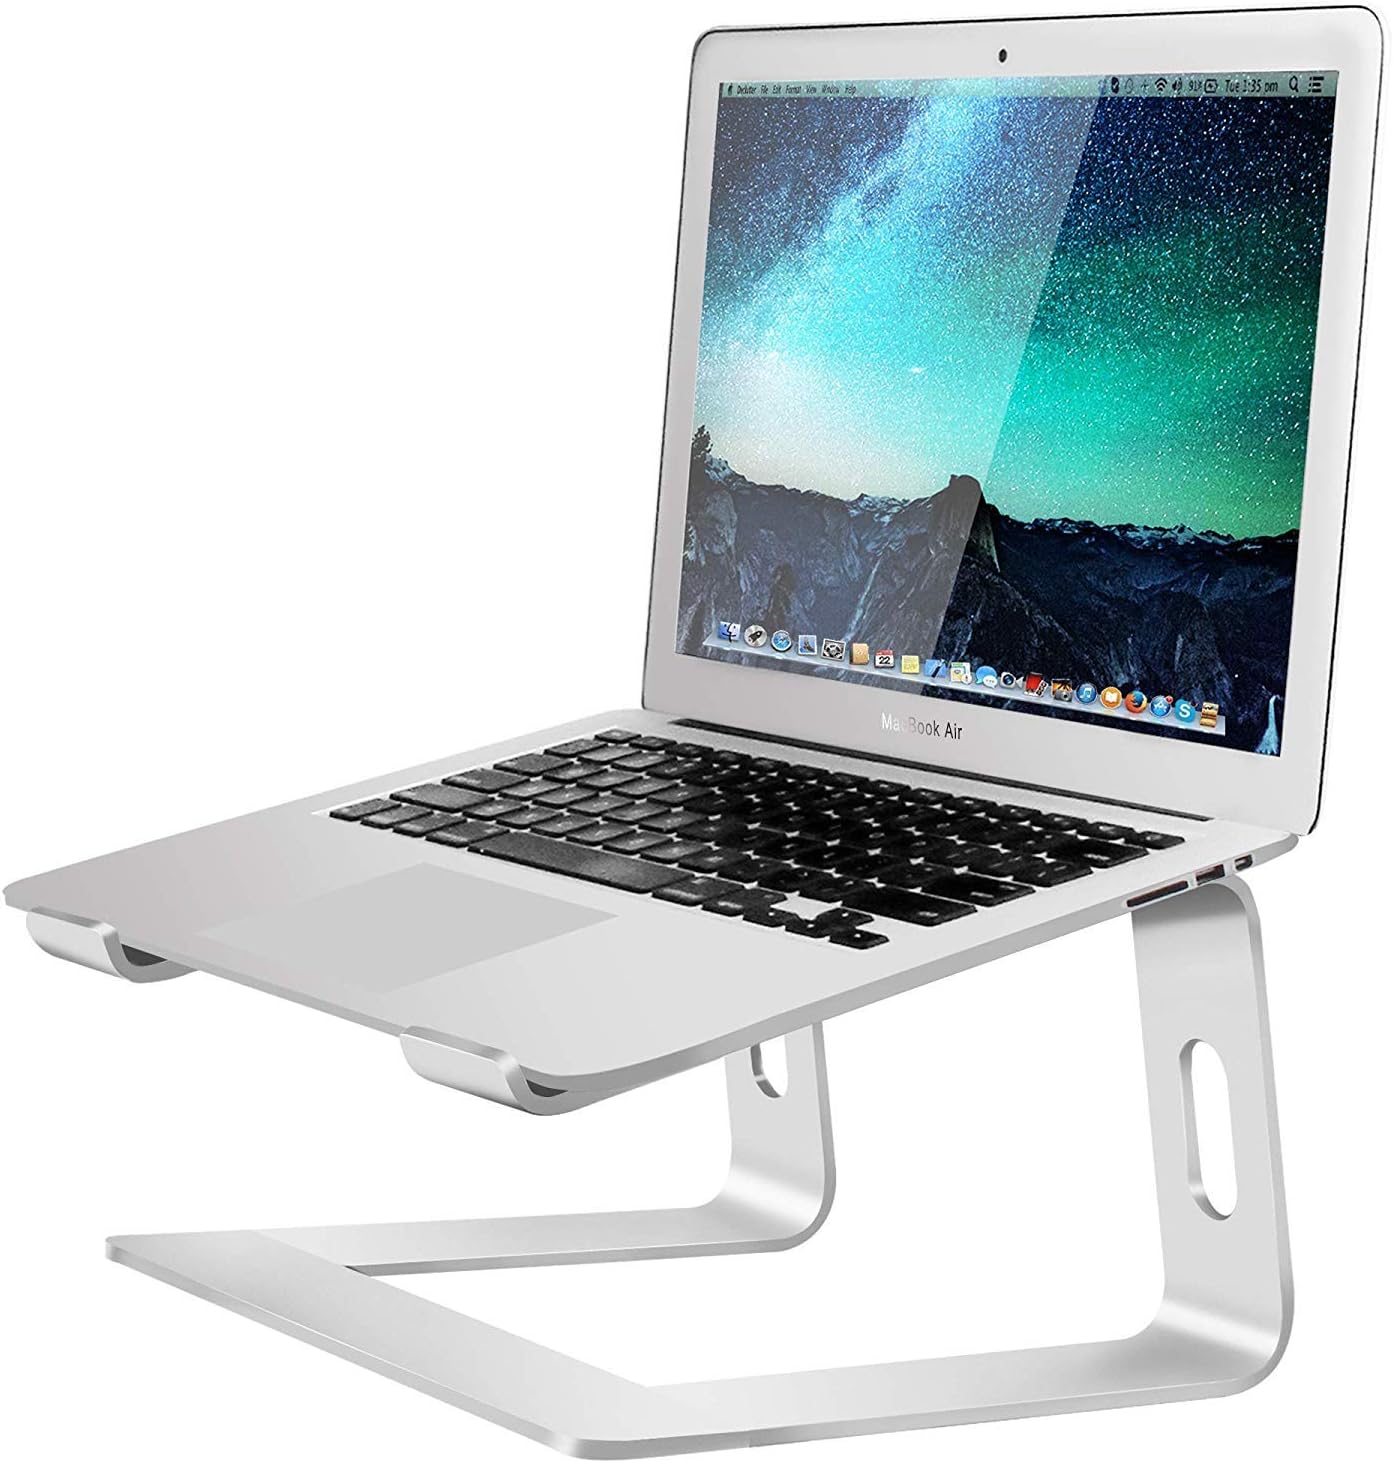
Today’s laptops are capable of doing some pretty amazing things. Still, when you’re running recording software or a DAW or anything else that uses a lot of processing power, it can push the limits of your CPU. A laptop that starts to work harder than normal will begin to heat up. In order to stop the laptop from overheating, the fans kick in… and bam: congrats, your recording now has noisy computer fans buzzing away in the middle of the second verse.
If you use a laptop stand, your computer is elevated.
The air underneath the laptop is cooler than a solid surface. That cuts down on the likelihood the fans will start humming when you’re trying to get a good take.
2. Pay Attention to Heating and Cooling Devices

Your home or apartment almost certainly have some sort of climate control, for the hotter or colder months. Unfortunately, if you live in an apartment, you may not always have complete control over when those kick in. If you live in an apartment where the temperature control is managed by someone else, remember to place your recording equipment a healthy distance from any noise-making machinery.
Final Thoughts
The first step in how to make your home recording studio is to make the decision that it’s something you want to do––it IS a commitment of sorts.
If music is your passion, then learning to record is a fundamental part of the process. The deeper you dive in, the more likely it is you can turn your hobby into a living––from producing and selling rap beats, to become a talented producer and sound engineer––or even becoming a needle in the haystack––a successful full-time recording artist.
Either way, your new skill set is sure to serve you well.
When getting started, don’t get overwhelmed by trying to make everything perfect from the start. Learning how to make a recording studio in your room is a process, and the act of doing it will teach you more than any teacher ever could.
Make your first goal to get a functional and creative studio space put together. Once you start recording, you can continue to add high quality tools to your arsenal. It’s important to take the time to learn your software and hardware thoroughly.
No need to splurge on thousands of dollars of equipment and software (unless you really want to). Start small and build!