When you’re designing your home recording studio, there are a ton of factors that go into achieving the best result. The room acoustics, wall reflections, hard surfaces, and even the room size (is your studio in a small room or large?). Setting up studio monitors can take time, but when it comes to being able to get the best sound quality, your studio monitor placement is absolutely essential.
Why would anyone spend good money on the best studio monitors they can afford, only to waste that advantage with poor speaker placement?
Studio monitors are almost always the best way to get accurate frequency response when you’re mixing and mastering. You want your listening position and the position of the monitor speakers to allow you to hear that detail, rather than miss out on it. It’s a crucial part of making your home studio the best it can be.
Why Do You Need Studio Monitors?
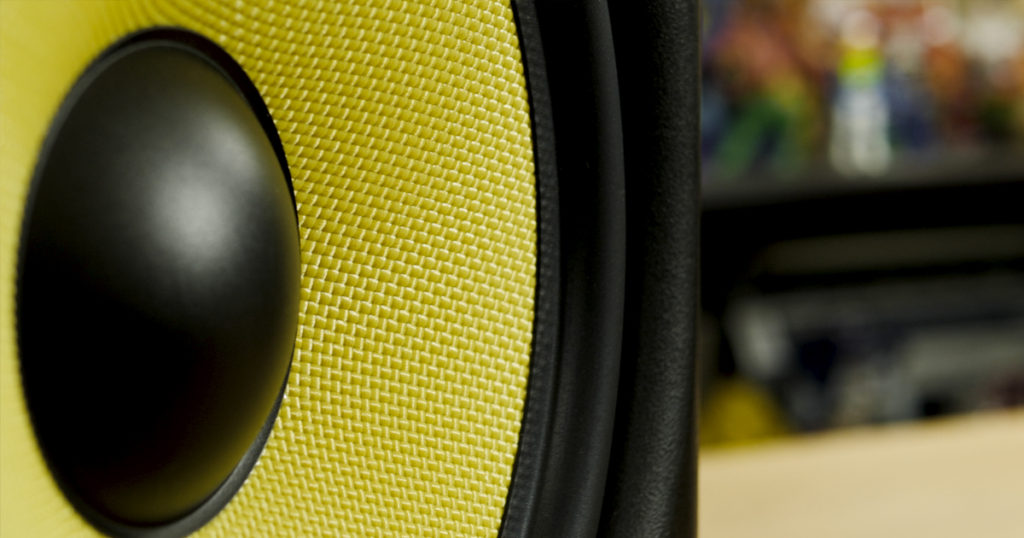
Studio monitors are professional-grade loudspeakers, and the tool of choice for mixing and mastering. The flat frequency response means that producers get the truest, most accurate sound based on what signal is going into the monitors, to begin with. Unlike many speakers on the market, these monitors don’t accentuate the low frequencies or the high frequencies for the sake of achieving a certain commercial sound.
This gives you the ability to hear a song without alteration. This is exactly what you want when editing. But there is a challenge—the room dimensions of your studio will create reflected sounds. This extra noise can muddy or drown out the details that are delivered by your monitors. If you aren’t careful, you could wind up missing out on them entirely.
So how do you set up your home studio monitors?
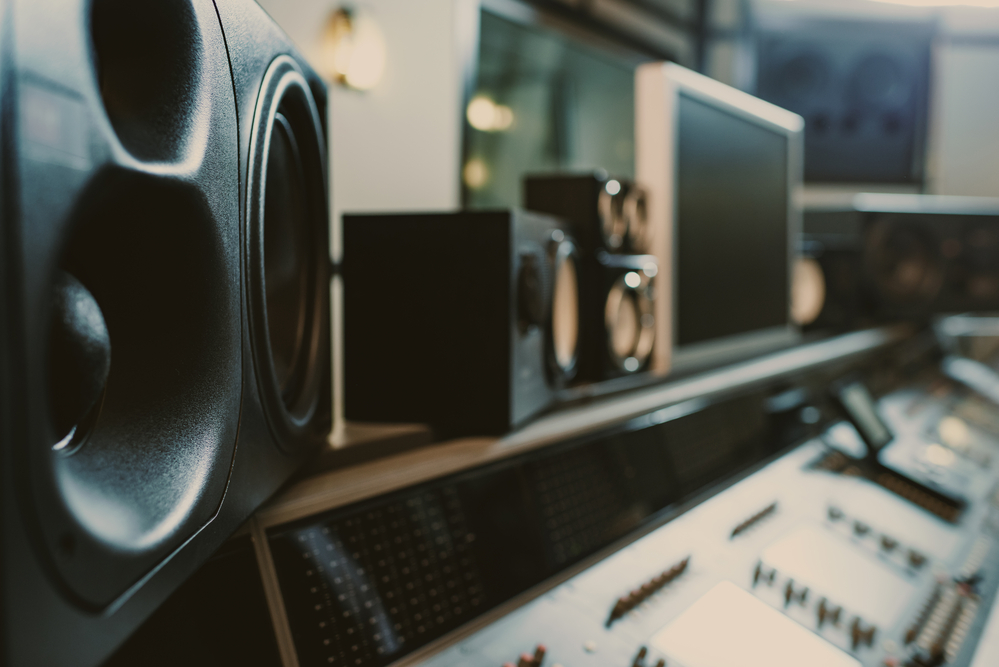
Step 1: Start With the Right Speakers
 I love to save money by finding a good deal, but studio monitors are one area where I won’t compromise quality. They add so much to your experience, and if you find a pair you like, you can use them for a very long time. Do yourself a favor and don’t cut corners in this particular case. Trust me on this.
Additionally, it’s going to help if you have at least two monitors in this scenario, so you can get a little variation. If possible, I recommend two monitors and a subwoofer that allows you to assign some of the low frequencies just to the woofer. But for now, we’ll just assume you have a standard setup of two monitors, and figure out the best way to position them.
Step 2: Choose and Prepare the Best Room for Your Home Studio
 Whether you have a lot of money to spend or only a little, you still want to get the most mileage you can out of your space.
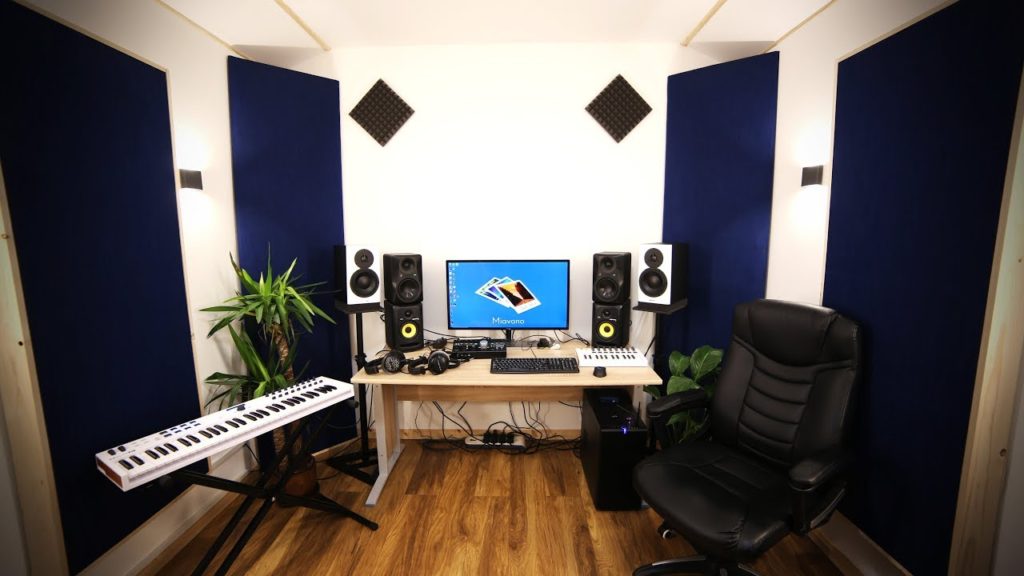
Professional studios often have a lot more free room to work with than home studios do. Room size matters. When choosing a home studio, the best step is to choose the largest room possible. This will minimize reverberation, and give you a cleaner sound—for both listening and recording.
Maybe you’re only mixing in your studio, and recording elsewhere. That’s fine. Even if you’re not recording, you’ll hear more detail from your monitors in a larger studio room. High ceilings are preferable if you have the choice. Rectangular rooms are better than square rooms. Remove anything from your studio that isn’t necessary, especially if it vibrates or reflects sound back. Finally, it can help to give your space some acoustic treatment to prevent it from echoing.
It may not be possible to do all of these perfectly. But the more of these tips you can put to use, the better off you’ll be. Once your listening environment is ready, it’s time to figure out the best way to arrange your studio monitors.
Step 3: Studio Monitor Placement
Now it’s time to position the monitors. Every room is different, but there are a few general guidelines that can help you. You may find that you’re forced to choose between following one guideline or another. In these cases, try it both ways if you can, and then choose what setup sounds best to you.
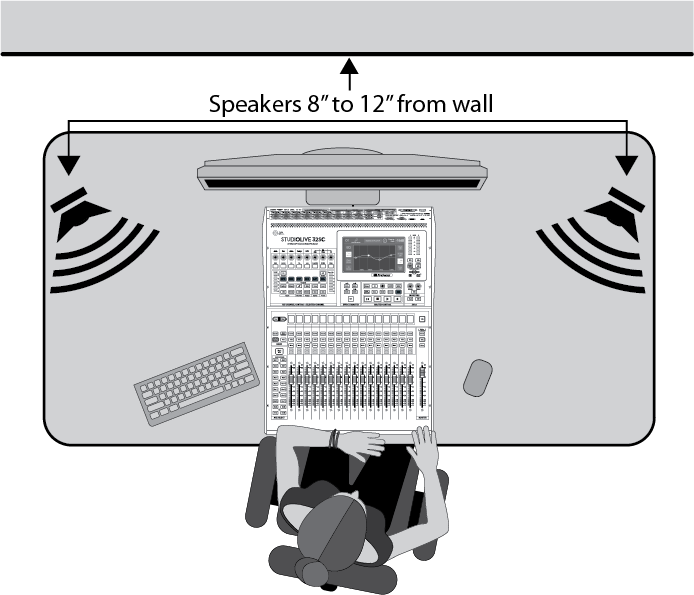
Keep the Studio Monitors Away From the Walls
You don’t want your monitors right up against the walls if you can possibly help it. This will increase the reverberation, and cost some of the detail in the sound quality. Having the monitors about a foot away from the walls is what you want to aim for. Much less than that, and the sound waves will start to bounce back at you. This isn’t always possible in a small room, but try to maximize the distance, and avoid putting them directly against the wall.
Position Your Monitors 3-5 Feet Away From You
You want to make sure that your listening position (where you are) is not too close or too far away from the monitors. Studio monitors are typically nearfield monitors. They are built for providing detail, rather than just the loudest volume. They assume the listener will be fairly close, and your sweet spot is about 3-5 feet away. If you know where your workstation will be, then this will give you a good idea of where the monitors should go.
Use Monitor Stands (aka Speaker Stands)
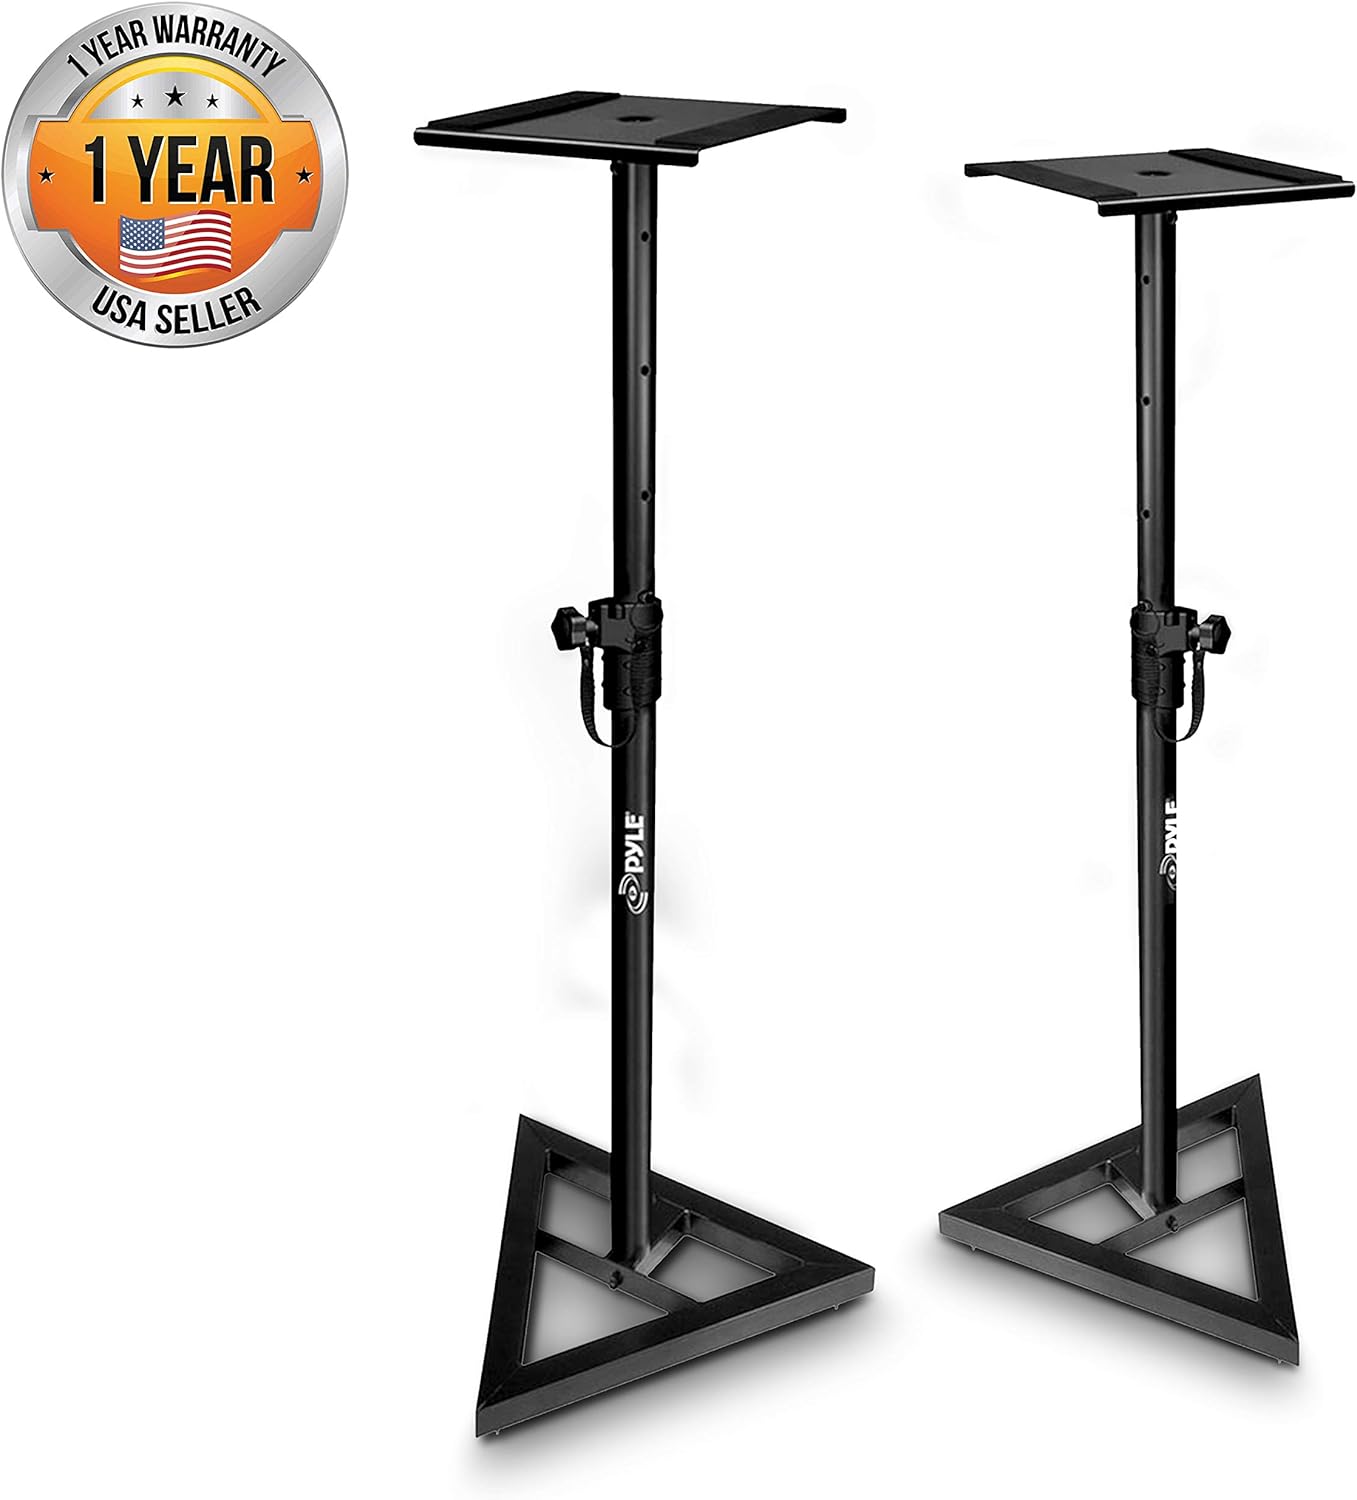
Example: Pyle Studio Monitor / Speaker Stands
Stands are inexpensive, versatile, and work wonders for the acoustic output of your monitors. Ideally, you want to put your studio monitors at ear level if at all possible. Speaker stands can help you position the monitors so you can fine-tune their height, and target the sound right at your listening position.
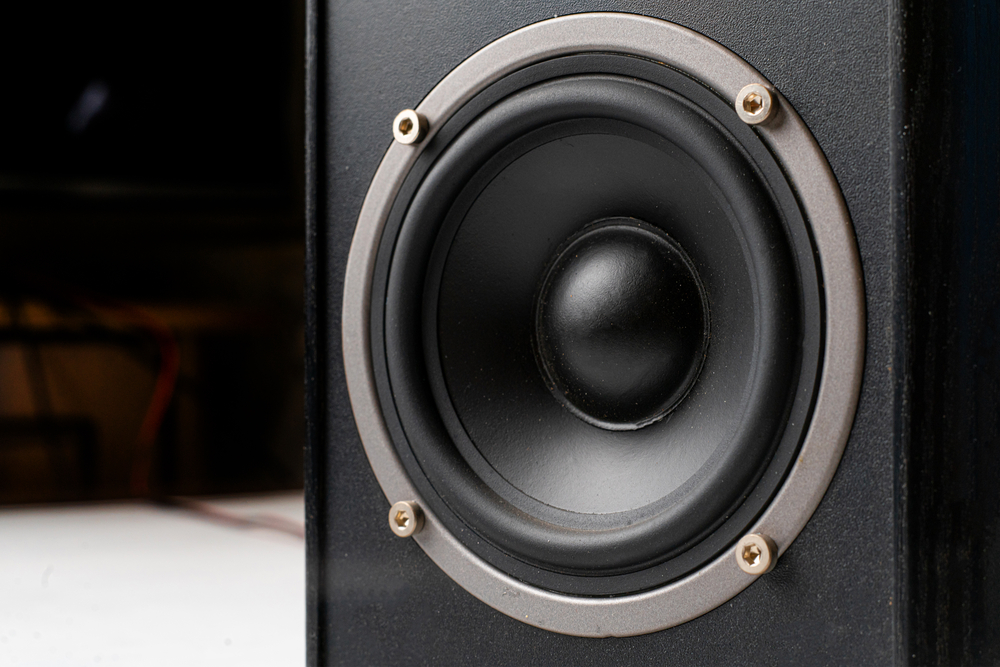
If you really want to get accurate, specifically position the tweeter at your ear level. The tweeter is the speaker driver responsible for higher frequency sounds. High-frequency sounds rely on direction more than low-frequency sounds do. If you aim the tweeter right at your ears, you’ll put yourself in position to catch the greatest amount of detail for this range.
Follow Manufacturer Directions
In some situations, I’ve seen people recommend putting monitors on their sides, or even standing them upside-down, so that the tweeter is below the woofer. There might be scenarios where this will make it easier for you to get the tweeter at ear level.
Just make sure to check with the manufacturer’s recommendations first. Not all studio monitors are built the same way, and some makers actually recommend against putting them on their sides (or upside-down) as the weight distribution isn’t built with that setup in mind.
What to Do If Speaker Stands Aren’t an Option: Isolation Pads

Example: Studio Monitor Isolation Pads by Vocalbeat
Sometimes, speaker stands might not be something you can work out. Maybe they just don’t fit with the room dimensions, or maybe they are outside the budget at the moment. If you are in a situation where you need to put your studio monitors on a desk or a shelf, then I would really recommend springing for a couple of isolation pads.
Isolation pads are inexpensive pads that absorb sound from the monitors. If you have your monitors on a hard surface, they’re going to create vibrations when they are playing. The amount of extra noise that generates can be a minor distraction or a big headache. But if your monitors are sitting on a foam or rubber pad instead, you’ll at least avoid the worst of it.
Be mindful of the size of the pad when you make a purchase, and ensure they’re the right size for your monitors.
Create the Equilateral Triangle
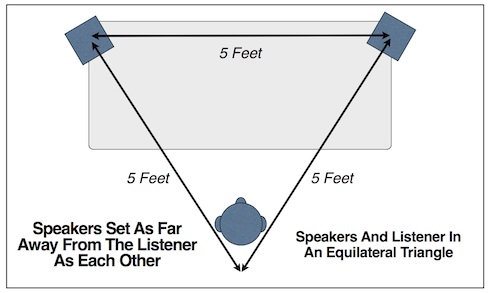
In order to get the best stereo image, you’re going to want to be deliberate with the way you position yourself and the monitors. The best approach is to place yourself and the monitors in such a way that it creates a perfect equilateral triangle.
This assumes that you have a set of two monitors, obviously, but in most situations, this will be the case. Once you have your monitor height adjusted properly, you want to place the monitors 3-5 feet away, and get them arranged, so they are each the same distance from you, and from each other.
Aim for Symmetry in Monitor Position—But Not Always
Ideally, if you have two speaker monitors, they should be the same distance from their respective walls. This part gets a little tricky, so bear with me.
You want the speakers to share their positioning, when it comes to how far they are from the walls. So one speaker might be a foot from the back wall and two feet from the sidewall. If that’s the case, then these distances should also dictate the positioning for the other speaker.
However, this doesn’t mean the monitor speakers should be the same distance from EACH wall. If you don’t watch out for this, you will create an acoustic corner, which is something you want to avoid. It may look aesthetically pleasing, but it won’t give you a better sound. Don’t put the monitors exactly in the corner, and don’t put them “one foot from each wall.” Vary the distance a little.
Make Sure to Calibrate Your Monitors
Setting up studio monitors ends with this all-important piece. Calibrating your studio monitors is a critical final step to ensure that you get the right balance and mix of sounds. Proper calibration depends on the way the sound is going to travel inside the room, so you can’t even do it until you have the monitors in place.
Start by turning the input volume of your studio monitors all the way down to zero. Studio monitors typically come with their own volume controls, and the control strip is usually in the back of the unit. Assuming you’ve left your monitors a good distance from the wall, it should be easy to access (another benefit of leaving room between the monitors and the wall.)
Turn the volume of your audio interface output down to Unity (0 dB). Input and output should both be at their lowest setting.
Set your SPL meter to C-weighting and slow response. Hold the SPL meter at arm’s length, so that it’s right in your listening position (exactly where you’re going to be).
From your DAW, play a pink noise tone.
Turn the volume back up on each monitor, until your SPL meter reads 85dB. If it’s a small room, 75dB may be a better bet, but the 75-85 range is the best.
Subwoofer Positioning
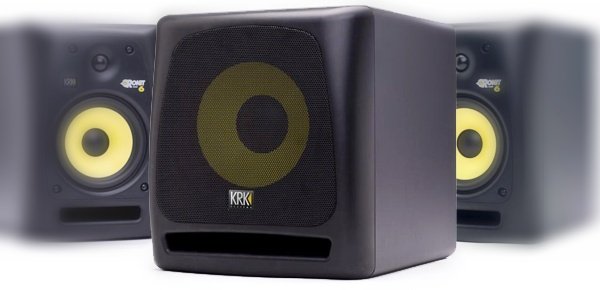
Where in the room should you place your subwoofer? This is one of the last things you need to worry about in the equation, but it will still make a difference in terms of your listening experience. You do this part last after your monitors are positioned and calibrated.
Often, a good spot for the subwoofer is going to be between the two monitors, and on the same plane, in order to achieve the best balance.
If that’s not possible, it may be necessary to experiment a bit. If you have the time, try positioning the woofer in a few different spots in the room and listen for differences in sound. Does the woofer’s position drown out the sound from the monitors? Putting the subwoofer in a corner will potentially over-accentuate the bass, so this is usually a spot you want to avoid.
In reality, the exact positioning of your woofer is less important than keeping it away from hard or reflective surfaces that will generate too much reverberation. Because bass and low frequencies are less directional than high frequencies, so the main consideration is not just “where should I put this?” but “what else is nearby?”
In Conclusion
I’m a bit of a perfectionist, so I want to make sure that I get the absolute best result I can. If there’s a way to make the sound just a little bit better, I’ll do it. That being said, there are times when it’s just not possible. Everyone is building their home studios with a unique set of room dimensions, equipment, creative requirements, and budgets.
If you can’t follow all of these rules to the letter, don’t worry too much. Figure out what’s the most important, and what sounds best in your own situation. These basic rules will help everyone, and every little improvement you can make will add up in the long run. When you get your best possible studio monitor placement, by the time you get to mixing, you’ll be amazed at how it sounds.